Running the Billing / Productivity Report, Preparing and Submitting Claims Electronically or Printing
Running the Billing / Productivity Report, Preparing and Submitting Claims Electronically or Printing
After you have set up all required fields in ICANotes (see our Billing Guide for setup instructions) and the clinicians are generating their notes for patient encounters, you are ready to begin preparing and submitting claims.
1. Click on the 'Reports' dropdown menu and select Billing/Productivity Report.

2. The red boxed area contains filters that can be filled out to narrow down results on the report. The blue boxed area (Report Summary) shows the parameters for the report.

3. Fill in the appropriate filters to retrieve all of the claims you want to submit.

A. Fill in the range of dates.
B. Enter Patient(s). Leave blank for all patients.
C. Enter the Site/Location(s). Leave blank for all sites/locations.
D. Enter Provider(s). Leave blank for all codes.
E. Enter the Diagnosis Code(s). Leave blank for all providers.
F. Enter the Billing / Service Code(s). Leave blank for all billing/service codes.
G. Note Search Options button (select all that apply).

H. Ebilling / Insurance Options button (select all that apply).

I. Click the 'Old Search Style' button if you want to use the old Billing/Productivity Report Search Form.

J. You can choose a Default Billing Report type to be used each time the Billing/Productivity Report is run.

K. Click the 'Set Default Search' button

L. You can exclude non-billable service code (00000) or service codes indicated in Group Level Settings + Directories > Service/Mod Codes tab.

M. You can choose to filter by Telehealth Session. A Note can be indicated as being a Telehealth Session by using the Telehealth Session check box in the Work Areas.

N. Click the 'Billing Report (expanded)' button to run report.

Note: If you want to clear the filters, use the Clear buttons on the right side of the window. If you want to clear all filters, you can click the 'Clear All Filters' button.

3. The generated report will look similar to this one:


A. This blue box gives a summary of the report. This particular report contains 4 encounters.

B. Check Status Again 'Check Status' button will check the status of the single encounter.
C. 'Edit Demographics' button will load the Demographics window. Click 'Continue' button to return to report.
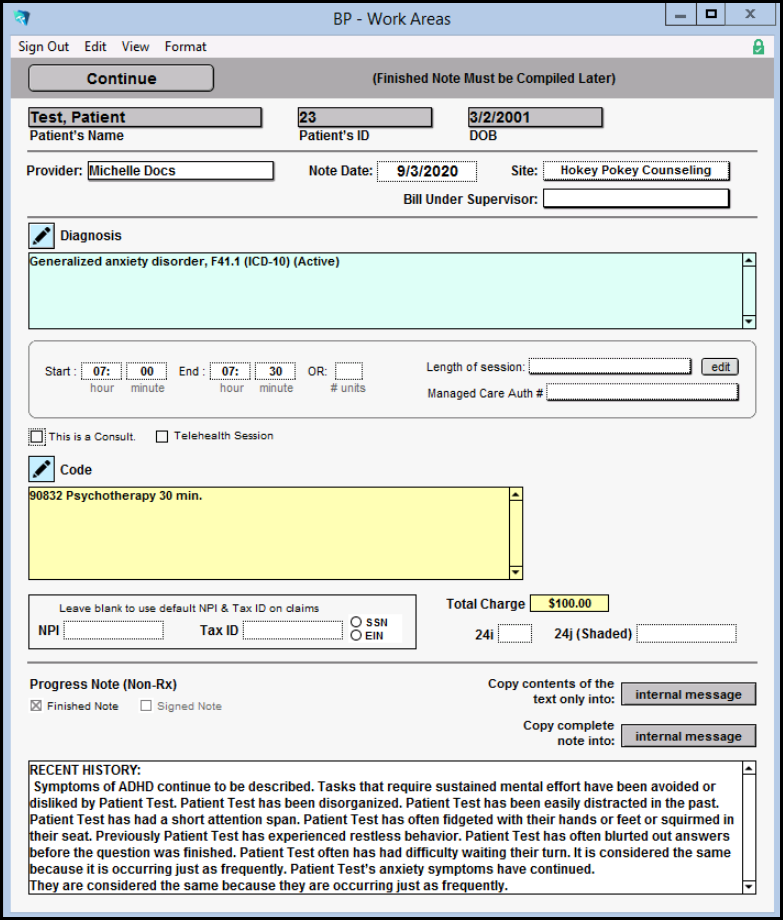
D. The BP - Work Areas window will popup when the the 'Edit Work Areas' button is clicked.
E. Clicking the 'Preview Finished Note' button will bring you to the Finished Note screen for that encounter. Click the 'Back to Billing Report' button when ready to return to the Billing/Productivity Report.
F. Click the '$ Account' button to go to Patient Accounts. Click the 'Back' button to return to the Billing/Productivity Report.
G. Add 'Add Service Charge' button will create a line in the Patient Account from the service/encounter you clicked.
H. Clicking the 'Prep Claims' button will prep all claims that are in 'Ready to submit eBill' status.
I. Clicking the 'Submit Claims' button will submit all claims that are prepped.
J. If you want to only prep or submit some claims, use the SELECT button to toggle which ones you would like to select. This turns the gray 'SELECT' button to yellow button to indicate selected.
K. 'Prep SELECTED Claims' button will prep only the encounters selected (yellow SELECT button).
L. 'Submit SELECTED Claims' button will submit only the encounters selected (yellow SELECT button).
M. 'Settings & Directories' button will bring you to Settings + Directories to review or make changes as necessary. Once finished, click the 'Back To Billing/Productivity Report' button to return to the Billing/Productivity Report.
N. 'Refresh Status for All' button will refresh all encounters on the page.
O. The 'Mark As Submitted' button is used when you print a claim and want to mark it as submitted (helpful for when doing searches later and don't want the printed claims to show up in the new search).
P. The 'Managed Care Authorizations' button will bring you the Managed Care Monitor page. Click the 'Back to Billing Report' button to return to the Billing/Productivity Report.

Q. The 'Documents' button will bring you to the "Documents tab" from the Chart Face.

R. There will be a claim status box for each claim on the report. The status options are shown below.

Related Articles
(Old Style Template) Running the Billing / Productivity Report, Preparing and Submitting Claims Electronically
Index Sections Fill in the range of dates. Enter patient's name or patient ID. Leave blank for all patients. Enter specific billing/service code. Leave blank for all codes. Enter the site/location (multiple providers can be selected). Leave blank for ...Submitting Claims to Non-Integrated Clearinghouse
How to download ANSI 837 claim files to upload to your clearinghouse. 1. Run the Billing and Productivity per the steps in "Running the Billing / Productivity Report, Preparing and Submitting Claims Electronically or Printing" knowledge base article. ...Running the Productivity Report (columns)
Index Sections Enter a range of dates. Enter Patient(s). Leave blank for all patients. Enter the Site/Location(s). Leave blank for all sites/locations. Enter Provider(s). Leave blank for all providers. Enter the Diagnosis Code(s). Leave blank for all ...Electronically Billing a Treatment Plan
This Knowledge Base article explains how to electronically bill a Treatment Plan when the Service Code option is not available. To enable the "Service Code for Treatment Plans' group rule, please have a Security Administrator submit a request by ...Billing/Productivity Report Enhancement for User-Based Custom Exports
ICANotes users now have the ability to save custom export settings within the Billing/Productivity Report. Please watch our demonstration of this report enhancement from our December 2018 release. Video link: https://youtu.be/Y3SFKzUw0y4